Tile Waste Factor: How Much Extra Tile to Buy
The tile waste factor is the extra you add on top of your measured area for cuts, breakage, and future repairs. The right percentage depends mostly on your pattern — here's how to choose it, why herringbone needs so much more than a straight grid, and what large-format tile changes.
Order tile to the exact square foot of your room and you will almost certainly come up short. Some tiles break, every edge needs a cut, and you will want a few left over for the day a tile cracks years from now. The cushion that covers all of that is the tile waste factor — a percentage you add to the measured area before you buy. Get it right and you finish the job from a single order. Get it wrong and you are back at the store hunting for a matching batch that may no longer exist.
The surprising part is how much the pattern matters. Keep the same room and the same tile, switch from a straight grid to herringbone, and the amount you need to buy can jump by half again as much. This guide explains what the waste factor is, gives the percentage for each common layout, and — more usefully — explains why the number moves so you can judge your own project instead of guessing.
What Is a Tile Waste Factor?
A tile waste factor is the percentage you add to your theoretical tile count to account for the tiles you cannot use whole. Start with the bare math — floor area divided by the area of one tile — and you get the count for a perfect world where every tile lays down intact and no edge needs trimming. No real installation works that way. The waste factor turns that best-case number into one you can actually order against.
It covers three separate things at once. First, edge and obstacle cuts: the tiles around the perimeter, around a toilet flange, or along a cabinet run get cut down, and the off-cut is often unusable. Second, breakage: tiles crack during scoring, snapping, and handling, and the rate climbs with bigger, thinner, or more brittle tiles. Third, spares: a few extra tiles set aside now save you from a frantic search for a discontinued color later.
As a baseline, homeowner and retailer guidance converges on adding at least 10% for a standard installation. The home-improvement reference Bob Vila recommends buying at least 10% more tile than you calculated, and tile retailer Tile Club uses the same 10% as its figure for most standard jobs. That 10% is the floor, not the ceiling — the pattern is what pushes it up.
Tile Waste Factor by Pattern
The single biggest input to the waste factor is the installation pattern. Here are the figures the SudoTool tile calculator applies, which track the ranges used across the trade:
| Pattern | Waste factor | Why |
|---|---|---|
| Straight grid | 10% | Perpendicular cuts at the room edges only |
| Brick / staggered | ~12% | The offset adds off-cuts at the ends of rows |
| Diagonal | 15% | Angled cuts at every wall |
| Herringbone | 18% (15–20% range) | Angled off-cuts rarely fit another spot |
| Mosaic / complex | 20% | Highest cut frequency, many small pieces |
A few of these numbers deserve a note on where they come from. The 10% straight-grid figure and the 15% diagonal figure are well supported: Tile Club, for instance, suggests bumping the overage to at least 15% for a diagonal or herringbone layout. The 20% top end for complex work also matches Bob Vila, which advises budgeting up to 20% for a unique pattern like herringbone or a diagonal offset. Herringbone is usually quoted as a 15–20% range rather than one exact figure; the calculator picks 18% as a middle value, and many installers go to 20% — or even 25% on a tricky room or a first attempt. The ~12% for a staggered/brick layout is the calculator's own calibration, sitting just above a straight grid because the offset makes off-cuts a little harder to reuse cleanly; it is not a figure published by any single source.
You will often see these percentages attributed to the Tile Council of North America (TCNA) and the National Tile Contractors Association (NTCA), the bodies that set US tile-installation standards. That attribution comes with a caveat worth stating plainly: the associations publish their detailed guidance in paid reference manuals — the NTCA Reference Manual runs close to 300 pages and is sold to members and professionals — so the exact per-pattern figures are not something you can pull up and verify on a free official page. Treat them as well-established trade rules of thumb, which is how the whole industry uses them, rather than numbers stamped on a free public standard.
Why Pattern Changes How Much You Waste
The pattern moves the number for one main reason: whether the piece you cut off can be reused. That single idea explains almost the entire table above.
In a straight or running-bond layout, the cuts are mostly clean and repetitive. When you trim a tile to finish a row against the wall, the leftover piece is frequently the right size to start the next row. Installers on the Fine Homebuilding forum describe exactly this: with a running bond you can use the off-cut from the end of one course as the first tile in the next, so very little actually goes in the bin. That reuse is why 10% is enough.
Now set the tiles on a 45-degree diagonal. Every tile that meets a wall, corner, or fixture needs an angled cut, and the triangular off-cut almost never matches the angle needed somewhere else. The same goes double for herringbone, where each perimeter piece gets its own angled cut. The waste is not breakage — it is geometry. The leftover pieces are real tile, but they are the wrong shape to use, so the percentage has to rise to cover the tiles that effectively become scrap. As one rule of thumb from the same discussion puts it, larger formats and diagonal layouts both push the percentage higher.
Directional and patterned tiles add a smaller version of the same problem. A wood-look plank or a tile with a printed pattern has to be oriented and matched, which forces extra cuts and the occasional rejected piece. Anything that reduces your freedom to drop a tile wherever it fits will nudge the waste factor up.
Large-Format Tile Is a Special Case
Tiles with a side of roughly 15 inches or more do not follow the pattern table. They produce fewer cuts — a big tile covers more ground, so there are fewer perimeter pieces — but each mistake is far more expensive. Crack one large tile while handling it, or miscut it on a floor that is not perfectly flat, and you have wasted a lot of material in one go.
That pushes the range wide in both directions. A simple straight layout of large tile in a square, flat room can need as little as 5–10% overage. But large, breakage-prone porcelain is a different story: Tile Club recommends ordering around 30% extra for large-scale porcelain precisely because it is so prone to breaking before it is even installed. If your subfloor is not dead flat, or you are cutting large tile for the first time, lean toward the generous end. The general rule the trade repeats is simple — the bigger the tile and the more complicated the pattern, the more waste you should expect.
What Else Pushes the Waste Factor Up
Pattern and tile size are the big levers, but several other conditions justify adding a few points on top:
- Irregular rooms. Alcoves, angled walls, niches, and curves mean more perimeter and more odd cuts. Break the room into rectangles to measure it (our guide on how to calculate tile for a room walks through that), then add a little extra on top — many sources suggest 15–20% for rooms with a lot of edges and corners.
- First-time or DIY installation. If this is your first tile job, build in more margin for measuring and cutting mistakes. Professionals quote tighter numbers because they make fewer errors.
- Uneven subfloor. A floor that is not flat raises the breakage rate, especially with large or thin tile.
- Natural stone. Marble, travertine, and slate vary in color and veining from piece to piece, so you discard more during sorting. Stone is commonly ordered with a higher overage than ceramic or porcelain of the same shape.
- Lots of small perimeter cuts. The more narrow slivers your layout needs around the edges, the fewer off-cuts you can reuse.
None of these is a reason to panic-buy. Each is a reason to round the percentage up rather than down when two of them stack — a first-timer setting natural stone in an L-shaped room should not be ordering the 10% minimum.
Putting the Waste Factor to Work
The waste factor only helps if you apply it in the right place. The order of operations matters:
Tiles needed = (floor area ÷ area of one tile) × (1 + waste factor)
Run the division first to get the bare count, then multiply by one plus your chosen percentage. A 120-square-foot floor of 12-inch tiles needs 120 tiles bare; at a 12% staggered factor that becomes 135, and at an 18% herringbone factor it becomes 142. Same room, seven extra tiles, purely from the pattern.
Then comes the part people get wrong at the register: tile is sold by the box, not the piece, with each box's coverage printed in square feet. Take your area-plus-waste figure, divide by the box coverage, and round up to the next whole box — never down. A fractional box does not exist at the store, and coming up half a box short is exactly how you end up reordering.
That reorder is the real risk, because of the dye lot. Tile is fired in batches, and color and shading drift slightly from one batch to the next. Two boxes of the "same" tile bought weeks apart can read as visibly different under raking light. So buy everything in one order, confirm the boxes share a lot number, and — as Tile Club and others advise — keep a few spare tiles on hand for the repair you will inevitably need down the road. The waste factor is not money wasted; it is what lets you finish the floor from one matched batch.
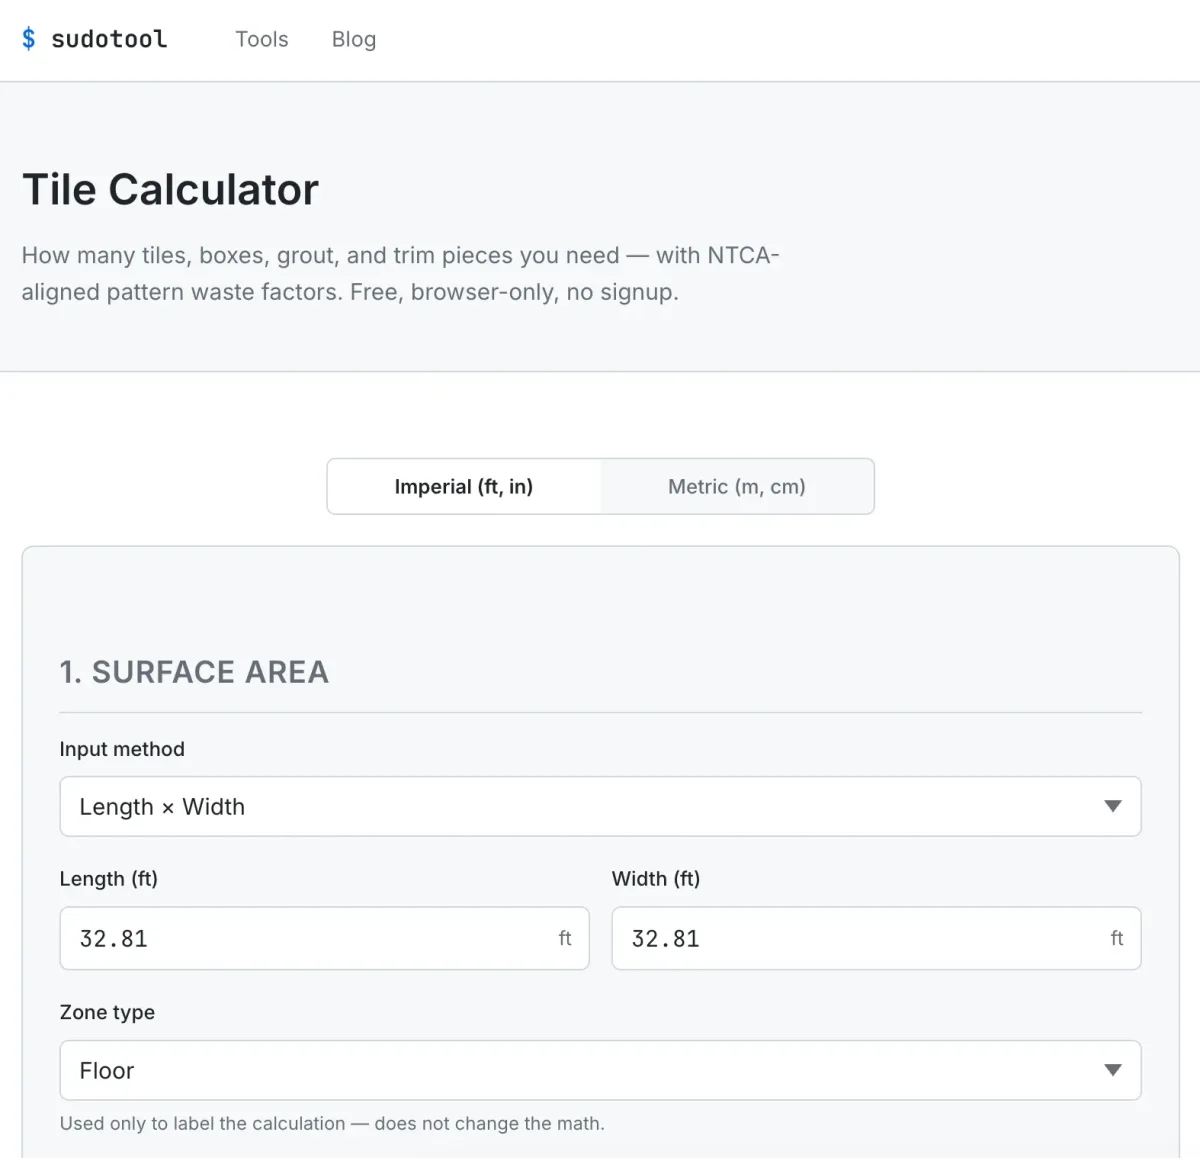
Pick the installation pattern and the calculator applies the matching waste factor automatically, then rounds up to whole tiles and boxes.
Frequently Asked Questions
What is a good waste factor for tile?
About 10% for a simple straight grid, around 12% for a staggered layout, 15% for diagonal, and 15–20% for herringbone, mosaic, or other complex patterns. When two complicating factors stack — say, a first-time install in an irregular room — round the percentage up.
How much extra tile should I buy for a herringbone pattern?
Plan on 15–20%, and go to 20–25% for a tricky room or your first herringbone job. Every perimeter piece gets an angled cut whose off-cut rarely fits anywhere else, so the waste is structurally higher than a straight lay.
Do large tiles need more or less waste?
Fewer cuts, but costlier mistakes. A simple large-format layout in a flat, square room can need as little as 5–10%, while breakage-prone large porcelain is sometimes ordered with up to 30% overage.
Why add a waste factor at all — can't I just buy the exact amount?
Because edge cuts, breakage, and future repairs mean the bare count almost always falls short, and reordering later risks a dye-lot mismatch. Buying a little extra in one batch is cheaper than buying a second, mismatched one.
Is the waste factor different for walls versus floors?
The logic is identical. For walls and backsplashes, subtract the doors and windows you are not tiling first, then apply the same pattern-based percentage to what is left.
The Bottom Line
The tile waste factor is less about waste and more about buying enough, once, from a single batch. Start at 10% for a straight grid, raise it for diagonal and herringbone because their off-cuts cannot be reused, treat large-format tile as its own breakage-driven case, and add a little more for irregular rooms, natural stone, or a first attempt. Then apply the percentage before rounding up to whole boxes, and keep a few spares. The same "measure, divide by coverage, add a buffer" thinking applies to other materials too — our guide on paint coverage per gallon uses the identical approach for paint. When you would rather not do the arithmetic, run your room through the tile calculator and let it apply the right factor and round up for you.
This is a general home-improvement guide based on retailer and homeowner guidance plus widely used trade rules of thumb. Waste-factor percentages are working estimates, not guarantees — actual waste varies with room shape, tile size and material, pattern, and installer skill. The per-pattern figures are commonly attributed to TCNA and NTCA installation guidance, but the associations' detailed numbers are published in paid reference manuals rather than on a free official page, so treat them as well-established rules of thumb. For uneven subfloors, structural concerns, or large-format installations, consult a professional tile installer, and always check the product label and box coverage before ordering.
- Bob Vila — How Much Tile Do I Need for a Floor or Wall? Homeowner reference for the 10% baseline and budgeting up to 20% for herringbone or a diagonal offset.
- Tile Club — How to Measure a Room for Tile. Retailer reference for 10% on standard jobs, at least 15% for diagonal/herringbone and rooms with many edges, 30% for large-scale porcelain, same-lot buying, and keeping spares.
- Fine Homebuilding — Estimating Overage (forum discussion). Installer discussion of why running-bond off-cuts can be reused while diagonal and large-format layouts waste more.
- Tile Council of North America (TCNA) — tcnatile.com and National Tile Contractors Association (NTCA) — tile-assn.com. The bodies behind US tile-installation standards; detailed waste guidance lives in their paid reference manuals, so the per-pattern percentages here are trade rules of thumb rather than free-verifiable official figures.
- SudoTool — How to Calculate Tile for a Room and Paint Coverage per Gallon. Sister guides applying the area-÷-coverage-plus-buffer method.