T-Molding vs Reducer: Which Transition Strip Do You Need?
Same height, T-mold. Different height, reducer. The useful question is where the line falls — and it has a number.
Every guide to choosing a transition strip says the same two things: use a T-molding when the floors are the same height, and a reducer when they are not. True, and not much help standing in the aisle with two floors that are nearly the same height. Your new plank is 8 mm, the tile next door is 10 mm on a mortar bed, the doorway is 30 inches wide, and there are four profiles on the shelf that all claim to solve it.
| Profile | Use it when | Height difference |
|---|---|---|
| T-molding | Two hard floors of equal height meet, typically in a doorway | 0–8 mm |
| Reducer | One floor sits higher than the other and needs a ramp | Over 8 mm |
| End cap (square nose) | Flooring ends at carpet, a slider track, or a vertical face | Edge, not a joint |
| Threshold | Abutting another floor or a vertical obstruction where expansion space is needed | Varies; often shimmed |
| Stair nose | Floor meets the edge of a stair tread or a step down | Full step |
How to choose a transition strip: the 8 mm rule
The number is buried in a T-molding installation sheet rather than any buying guide. Home Depot's instructions for T-molding with a clip track state it as a notice: do not use t-molding if there is a height difference between the floors greater than 8 mm, and use a reducer molding instead. That is the decision, in one line, with a figure you can measure.
The same document explains how the smaller differences get absorbed. The T-molding is intended to connect two floors of very similar thickness, typically at a door threshold, and it works with a clip track that can be shimmed. Floors 5 to 9 mm thick need no shim; thinner or mismatched assemblies get shims until the profile sits flat. So the working range is not "identical" — it is "close enough that a shim under the track can level it."
Multi-function kits describe the same idea in ranges. One 3-in-1 molding technical sheet covers reducer, T-molding and end cap duty from a single extrusion, with a track for floors up to 1/8 inch (3 mm), the track plus a shim for 1/8 to 1/4 inch (3 to 6.35 mm), and dowels for floors up to 3/4 inch (19 mm). On that sheet the same part behaves as a reducer for LVT floors up to 1/4 inch, and as a reducer for thicker WPC floors in the 1/4 to 3/8 inch (6.35 to 9.5 mm) band. The lesson: read the thickness ranges on the specific product, because one profile shape covers several jobs depending on the hardware it ships with.
Measure the assembled height of both floors, not the plank thickness printed on the box. Attached pad, a separate underlayment, or thinset under tile all count.
The five profiles in plain terms
AHF's trim and transition instructions — the sheet that ships with Bruce hardwood moldings — define the family more precisely than most retail pages:
- T-molding covers the expansion space between two equal height flooring surfaces.
- Reducer transitions floors of different heights.
- Threshold is used for abutting to other floors, or at vertical obstructions where expansion space may be required — exterior doors and slider tracks are the usual cases.
- Stair nose transitions the floor to the edge of a stair tread or step to provide a finished trim.
- Quarter round covers the expansion space between the floor and a wall, usually with base molding.
Two details in that document are easy to miss and expensive to get wrong. There are two stair nose variants, and the overlap version should not be used on staircases — that is what the flush-fit profile is for; the overlap type is meant for landings and elevated floor perimeters. And the end cap, which AHF does not list under that name, appears on the 3-in-1 sheet with its function spelled out as hard surface to carpet.
Stair nose is the one profile with its own arithmetic, since you need one per step and cannot make a step out of two offcuts. That is covered in measuring stairs for vinyl plank, along with the piece counts.
Doorways: when a T-molding is required, not optional
Here is the part the shopping guides skip. In a floating floor, a T-molding in a doorway is sometimes a manufacturer requirement, and the trigger is the width of the opening.
| Product | T-molding required in doorways | Also required in large areas |
|---|---|---|
| Pergo Portfolio + WetProtect laminate | 4 ft (1.22 m) or less | Rooms 40 ft (12.2 m) or larger in length or width |
| Mohawk RevWood Contract laminate | 32 in (0.81 m) or less, or any width if the installation changes direction through the doorway | Rooms 50 ft or larger in length or width |
| Mohawk SolidTech Plus rigid vinyl | Not specified by width | Any room or area over 100 lineal ft in any direction, split into sections no larger than 100 ft x 100 ft |
A doorway is a narrow neck in a wide sheet of material. The floor on both sides wants to move as one, but only a 30-inch strip connects them, so that strip takes all the stress — and the planks in it are usually short pieces with joints close together. Breaking the run with a T-molding lets each room move independently. Pergo's 4-foot threshold is generous; Mohawk's residential laminate documents use the same 4-foot figure, while its commercial RevWood Contract line tightens the doorway rule to 32 inches and adds a condition unrelated to size: if the plank direction changes through the opening, a T-molding is required regardless of how wide it is.
That direction clause matters if you were planning to turn the layout at a doorway — see which direction to lay vinyl plank for when changing direction is a good idea in the first place.
The large-room rule is the same profile doing a different job: an intermediate expansion joint in the middle of a big field. Those thresholds vary widely by product, from Pergo's 40 feet to Mohawk SolidTech's 100 lineal feet, and they are covered alongside the perimeter figures in expansion gap requirements by manufacturer.
The rule that ruins transitions: never fasten through the floor
A transition strip sits precisely where the floor needs room to move, which makes it the easiest place to undo the whole installation with two nails.
Mohawk's instructions are direct about it: when installing moldings, never allow nails or screws to enter the flooring or the expansion zone around the flooring perimeter, and all moldings and transition strips need to provide a 1/4 inch (6 mm) expansion space as well. AHF's hardwood sheet repeats the principle profile by profile — to allow the flooring to expand and contract freely, never fasten the T-molding to the flooring, and the same instruction appears under threshold.
Which gives three practical rules:
- Fasten to the subfloor, not the floor. The clip track or the molding's own base screws down between the two floor edges; the flooring stays loose beneath the flange.
- Leave the gap under the strip. AHF's method is a temporary spacer block screwed to the subfloor — 1/2 inch plus the product's expansion space for a T-molding, at least 1/2 inch wide and 1/2 inch high for a reducer — with the flooring installed up to the block and the block removed afterwards.
- Shim rather than force. Both documents accept shimming or modifying the profile to reach the right height. Neither accepts pinning the floor to reach it.
Door casings follow the same logic. Mohawk recommends undercutting the jamb, sliding the plank underneath, and cutting the frame so that a 1/4 inch (6 mm) gap remains from the edge of the plank under the casing to the wall. The transition then covers the joint without trapping anything. A floating floor that has been pinned at a doorway usually announces it somewhere else in the room — see what happens when a floating floor cannot move for the other version of that failure.
How many pieces to buy
Transitions are sold as trim, so they are counted in linear inches per opening rather than square feet. Walk the job and list every place the floor stops or changes:
- Every doorway the flooring passes through, plus any where the requirement above applies.
- Closet openings, which are easy to overlook and often the widest single opening in a bedroom.
- Room-to-room openings without a door, where two materials meet.
- Exterior doors and slider tracks — threshold or end cap territory.
- Intermediate T-moldings demanded by the room-size rule, which is a real line item in an open-plan floor.
- Stair nose, one per step, counted separately.
Bar lengths are product-specific, and the piece you need may not divide neatly into your openings — Mohawk's LVF stair nose, for instance, runs 78.75 inches. For ordinary trim you are allowed to make up a wide run from two pieces: AHF's instructions call for joining long runs of two or more pieces with a 45-degree scarf joint bonded with wood glue. Stair nose is the exception where Mohawk prohibits butting two caps together for a single step, which is exactly why stair parts get counted per step and not by total length.
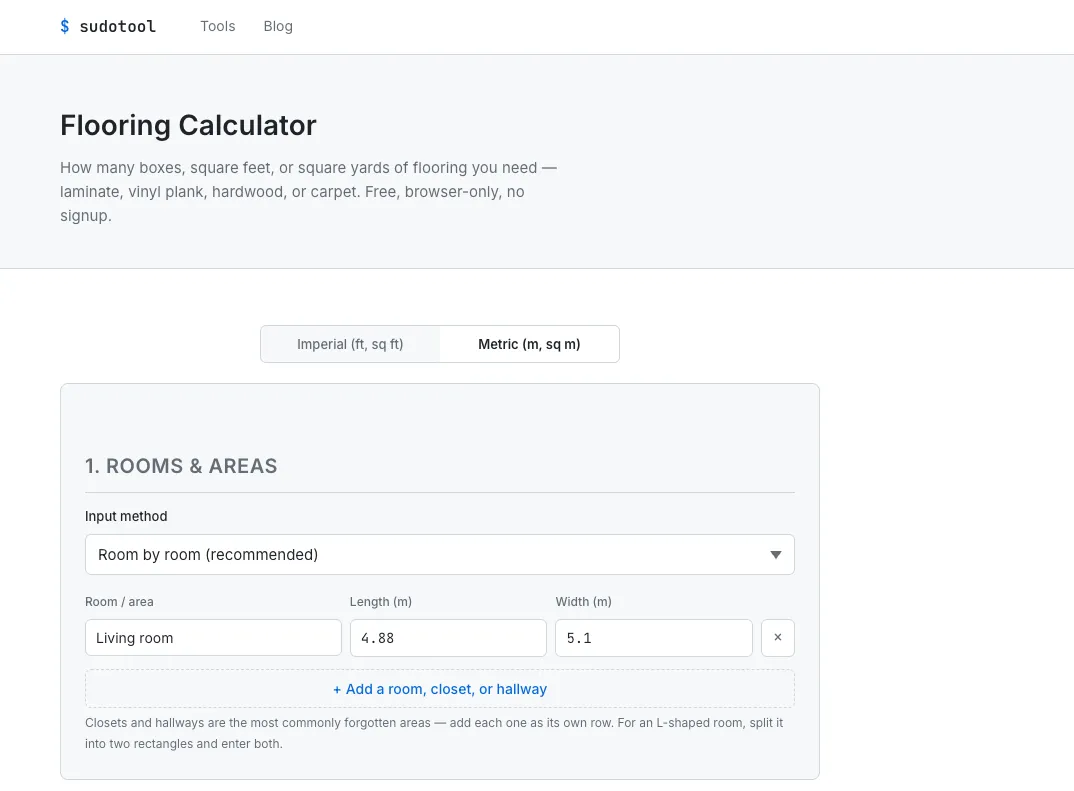
Trim never appears in a square-footage total, so add it as its own line beside the plank order. The flooring calculator handles the field material — boxes, waste factor, square yards for carpet — and the openings you just listed are what sits next to that figure on the shopping list.
Tile, carpet, and the cases worth a second look
Meeting tile. Tile on a mortar bed is frequently the taller floor, and the difference is often well past 8 mm, which puts you in reducer territory rather than T-molding. If you are installing over the top of existing tile, the added height also changes what the transition has to bridge — vinyl plank over tile covers the height stack and where it causes trouble with doors and appliances.
Meeting carpet. Carpet is the end cap case: your hard floor stops, its edge needs covering, and the carpet is tucked or tacked on the other side. The 3-in-1 sheet lists a carpet tap-down trim as part of that assembly, which is what holds the carpet edge rather than the flooring.
Meeting nothing. A floor that stops at a hearth, a slider track, or a step down to a garage needs an edge finished, not a joint bridged. That is threshold or end cap work, chosen by whether anything continues on the far side.
Uneven heights across a wide opening. A reducer is a ramp, and a ramp across a 6-foot opening is a trip hazard people notice. Where the height difference is large, levelling the low side before the floor goes down is a better answer than a taller reducer — the transition should be finishing the job, not compensating for the subfloor.
Frequently Asked Questions
What is the difference between a T-molding and a reducer?
A T-molding covers the expansion space where two floors of equal height meet; a reducer transitions floors of different heights. Home Depot's T-molding instructions set the boundary numerically: do not use a T-molding where the height difference between the floors is greater than 8 mm, and use a reducer molding instead.
How much height difference can a T-molding cover?
Up to about 8 mm, or roughly 5/16 inch, according to Home Depot's T-molding installation instructions. Below that, shims under the clip track make up the difference, and floors 5 to 9 mm thick need no shim at all. Past 8 mm the profile stops sitting flat and a reducer is the correct part.
Do you need a T-molding in a doorway?
Often yes, and sometimes it is required. Pergo's laminate instructions call for T-moldings in doorways 4 ft or less and in rooms 40 feet or larger in length or width. Mohawk's RevWood Contract requires one in doorways 32 inches or less, or wherever the installation changes direction through the doorway.
Can you nail a transition strip through a floating floor?
No. Mohawk's instructions state that nails and screws must never enter the flooring or the expansion zone around its perimeter, and that all moldings and transition strips need to provide a 1/4 inch expansion space. Fasten the track or the molding to the subfloor, never to the floor itself.
What transition strip do you use between hard flooring and carpet?
An end cap, also sold as a square nose or carpet transition. One 3-in-1 molding technical sheet lists the end cap function specifically as hard surface to carpet, in the same kit that also serves as a reducer and a T-molding depending on which track and shim you use.
Can you join two pieces of transition molding for a wide opening?
For trim, yes. AHF's hardwood trim instructions direct you to join long runs of two or more pieces with a 45-degree scarf joint bonded with wood glue. Stair nose is the exception: Mohawk prohibits butting two caps together to complete a single stair nose.
Bottom line
Measure the assembled height of both floors and compare. Within 8 mm, a T-molding on a shimmed track is the part, and in a doorway it may be required rather than optional — 4 ft or less on Pergo laminate, 32 inches or a direction change on Mohawk RevWood Contract. Past 8 mm, a reducer ramps the difference. Where the floor ends instead of continuing, an end cap or threshold finishes the edge, and steps take a stair nose counted one per tread. The rule that outranks all of them: every transition leaves a 1/4 inch expansion space and fastens to the subfloor, never through the floor it is trimming.
Sources: Home Depot — T-Molding Installation Instructions: the notice not to use a t-molding where the height difference exceeds 8 mm and to use a reducer molding instead, use with a clip track to connect floors of very similar thickness at a door threshold, and no shim required for 5 to 9 mm floors · AHF Products — Hardwood Trim and Transition Installation (WB-1500-225): profile definitions for quarter round, T-molding, reducer flush-fit, threshold and both stair nose types, the instruction never to fasten a T-molding or threshold to the flooring, spacer-block dimensions, the prohibition on stair nose overlap for staircases, and joining long runs with a 45-degree scarf joint · 3-in-1 Molding — Technical Information and Applications: one profile serving as reducer, T-molding and end cap, the track for floors up to 1/8 inch (3 mm), shim for 1/8 to 1/4 inch, dowels for floors up to 3/4 inch (19 mm), the end cap function listed as hard surface to carpet, and the LVT and WPC thickness bands · Pergo — Portfolio + WetProtect Installation Instructions: T-moldings required in doorways 4 ft (1.22 m) or less and in rooms 40 feet (12.2 m) or larger in length or width, and floor movement not to be constrained by fixed obstructions · Mohawk — RevWood Contract Installation Instructions: T-moldings required in doorways 32 inches (0.81 m) or less, or where the installation changes direction through the doorway regardless of doorway size, and in rooms 50 feet or larger in length or width · Mohawk — SolidTech Plus Installation Instructions (0372ES, 04/2019): separation into sections no larger than 100 ft x 100 ft above 100 lineal feet in any direction, the 1/4 inch (6 mm) expansion space required by all moldings and transition strips, the prohibition on nails or screws entering the flooring or expansion zone, and the door jamb undercut leaving a 1/4 inch gap. Millimetre-to-inch conversions in the text are calculated and rounded to the nearest common fraction.